Showing posts with label Hordes of the Things. Show all posts

Sunday, November 13, 2011

HoTT in Africa in Nyasaland

It has been a while since our last game of Hott in Africa; our adaptation of Hordes of the Things to Central Africa. This 36 point game was set in Nyasaland in the early 1890s (some more background here).

An Imperial British force under the command of Harry Johnston, Her Majesty's Commissioner for British Central Africa, is attacking a force commanded by the notorious arab/swahili slaver Mlozi. Why? To keep Africa ruled by an English Queen, (if you think that is odd, I live in Australia).

To the north runs a small river heading for Lake Nyasa. However, the battle will be shaped by a patch of long elephant grass, some boulders and the small hill in the centre.

The picture below shows the forces approaching each other with the British occupying the hill to the East. 

To the south of the battlefield a force of Bemba mercenaries move beyond the ruins of the Church of Scotland Mission station. Someone was responsible for that.

Here are the dastardly Bemba, lead by a Swahili blackguard:- Said bin Stephens.

To the north, near the river a force of native Senga warriors advance towards the reeds.

Mlozi can be seen in the centre, lurking behind a gang of wangwana swahili.

Bearers in British service carry the Fortnham and Mason hampers so necessary to any safari.

The British North flank is held by armed bearers; can they be relied on?

The centre is held by Atonga askari of the Nyasaland constabulary, poorly trained, but armed with the trusty snider rifle.

The South flank is held by trust Sikh infantry, who can be depended on to do their duty.

An Atonga scout keeps and eye on the advancing Bemba from the safety of some boulders.

While to the north the Senga warriors disappear into the elephant grass

The imperial forces watch from top of their hill

The arabs in the centre start to advance over open ground, but their formation is quickly broken up by the askari's steady fire.

The Sikhs also open up from long range.

When suddenly the Senga warriors burst out of the long grass.

The Senga live to burst out long grass! Love it! Here they are waved on by their war chief.

However, out in the open they are also dispersed by long range rifle fire. This could be a long battle.

An overview of the northern flak show how seriously Johnston takes the Senga. He has moved out to face them taking a section of the Nyasaland Constabulary with him.

Way over on the southern flank, the Bemba warriors wither under the sustained long range fire of the Sikhs.

...very long range fire, there are the Sikhs in the distance.

Shamed, the Senga break out into  battle formation. They see an easy victory in charging the armed bearers in front of them.

The armed bearers share this view, and don't look too happy.

With a howl, the Senga get stuck in.

Who knew, the bearers stand up to the charge and the warriors fall back.

The British line holds for now.

The Bemba continue to retreat from the Sikhs fire. Mlozi must be wondering why he brought these nincompoops.

The Senga are made of sterner stuff, after all how hard can rolling over a few armed bearers be.

Obviously, they have not heard of Captain Johnstone, hero of the empire. With a few Askari, he forces the Senga to retire.

Learning their lesson in modern firepower, the Arabs in the centre take cover in the long grass.

Living his "boy's own" adventure, captain Johnstone advances on the lone Senga chief (who has been abandoned by his tribesmen)

Whoooooaaah, one less apostle of empire, one more head for the fireplace! The bearers and Askai recoil in horror at the loss of their hero.

On the southern flank, the Arab commander manoeuvres onto the Sikh flank, obviously with mischief in mind, the Sikhs turn to face.

The Sikhs fight off the first change, they are safe for now.

Meanwhile, on the north flank the Senga war chief is surrounded and killed

Leaving Johnston's head on a stake. That bit will need to be deleted for the "Boy's Own" version.

While the British deal with the threat to their flanks, the centre is weakened and the arabs start to advance.

Watch those flanks.

... and look behind you
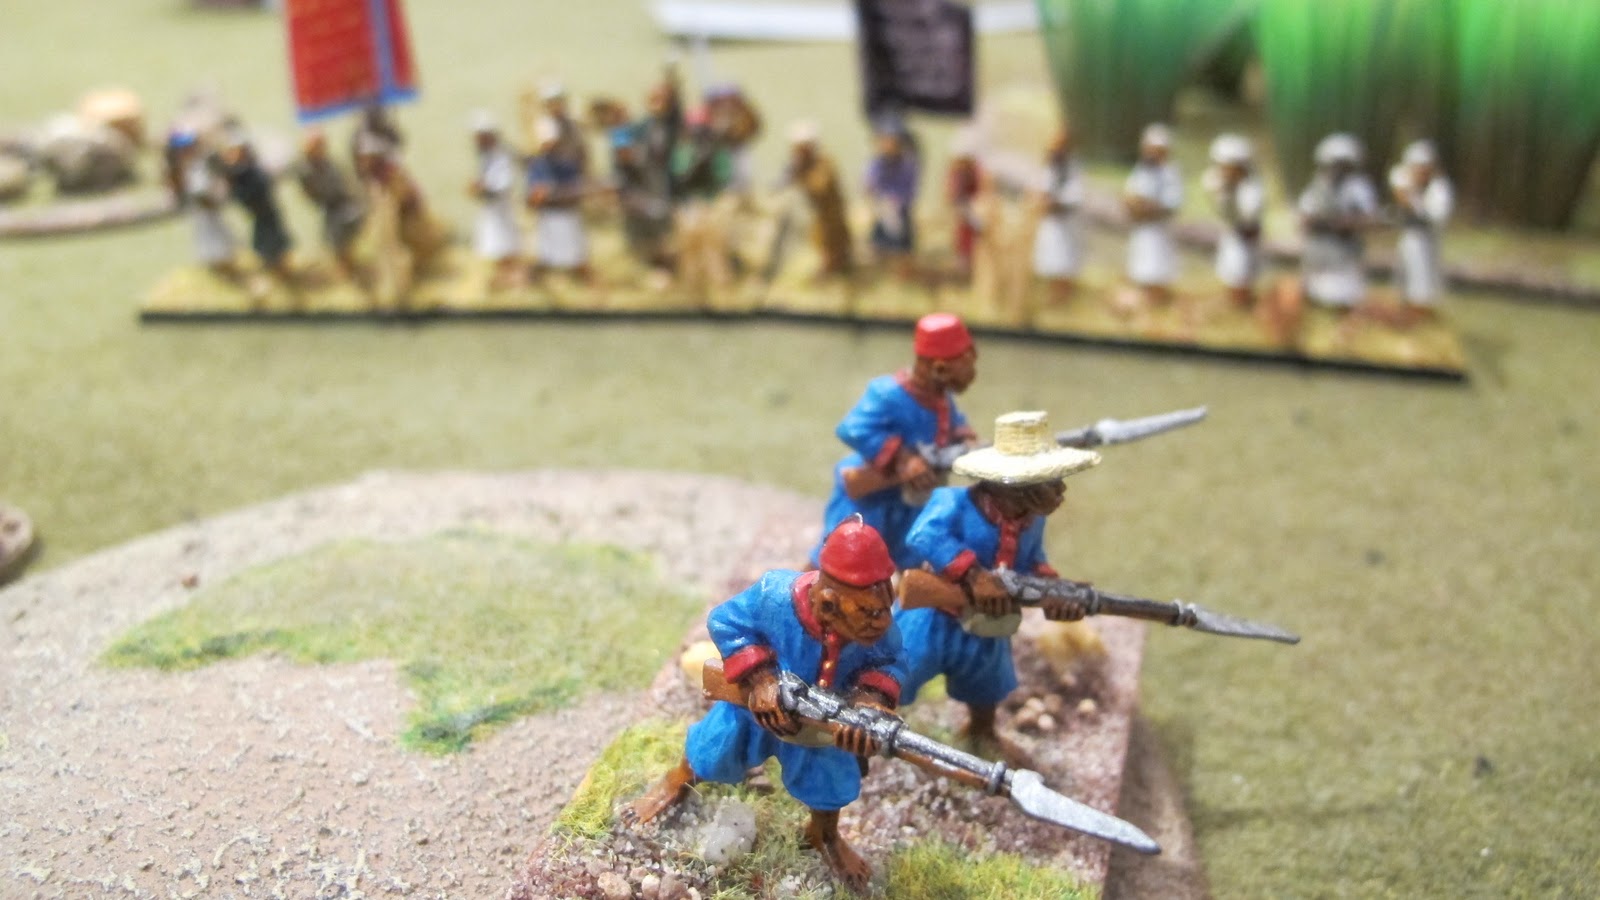
Only this small gun can slow the Arab advance.

One more attack on the British south flank is more than the now leaderless British can take.

A close run thing, but the British must no retreat to Blantyre.

Wednesday, January 12, 2011

Too much lead, not enough time: RCW game

I like lead on the table, and lots of it. I also like simple rules systems like "Hordes of The Things" (HoTT) that will give me a quick simple game. The problem with HoTT is that one element in only three or four figures, and this does not feel like a regiment to me.

In this Russian Civil War game, we doubled all dimensions and played HoTT with a frontage of 120mm. To put more variation into the "shooters" category, we allowed elements to be rated as Elite, in which case all odd dice scores are rounded up, and Conscript, where all even dice scores are rounded down. Generals are also free to move from unit to unit at "rider" speed.

The game was played on a nine by five foot table and the battle is set in Shinjiang province in 1920. Each element represents a regiment so in all the game was the clash between the sharp end of two divisions. You will notice I tend to scatter individually based figures around the table. This is for visual effect, to make HoTT look less blocky, and has no effect on the game.

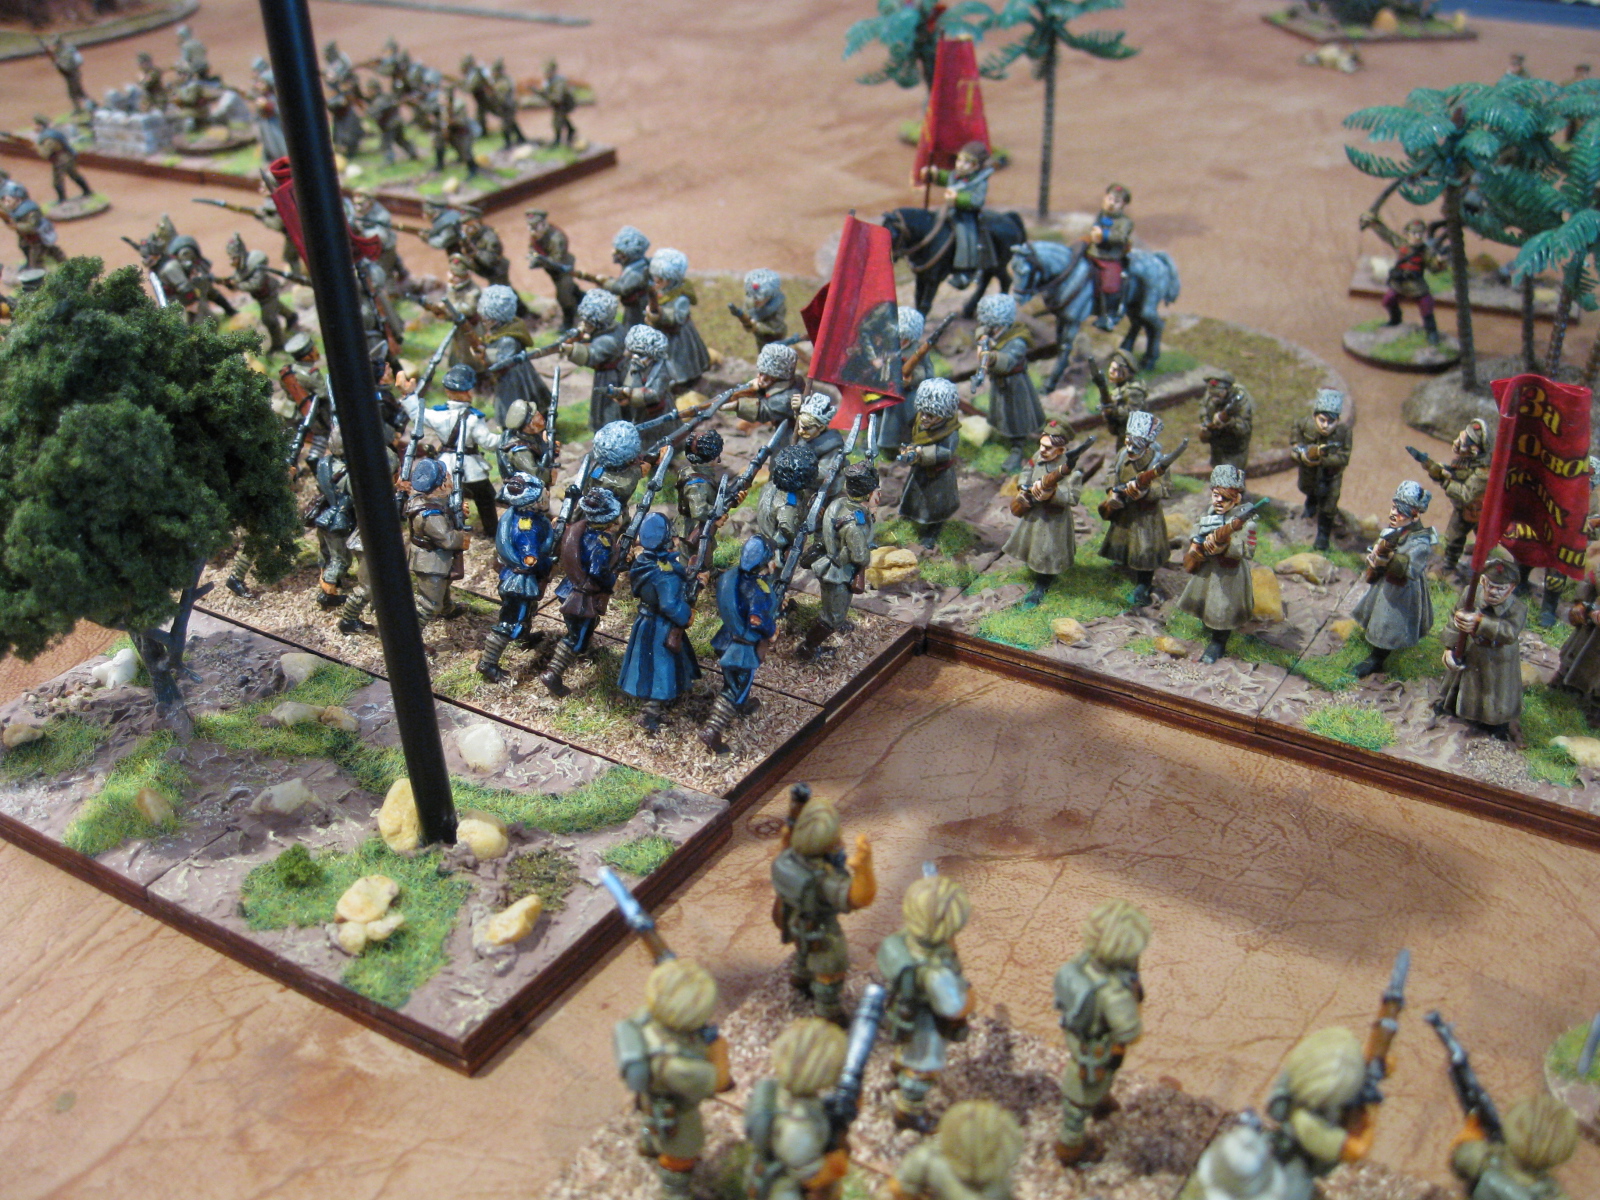
Where is the initial setup looking North. The Red Soviets are on the left, the Chinese, White Russian and British Indian counter-revolutionary running dogs are to the right.

Here is the table viewed from the North

The reds had an aircraft (rated as a Flier in HoTT)

The battle opened with a column Mongol cavalry advancing on the White left.

The Reds counter this by pushing a cavalry brigade up the railway track and towards the White camp. Looming above the camp is the White General perspiring slightly. It could be the Sydney heat, it could be the threat to his baggage.

Spooked by the cavalry, the White commander detached a Punjabi Battalion supported by light armour to head them off.

On the White left the cavalry column continues to push forward.

The column is being shadowed by the Red airforce.

And its movements are followed by a regiment of the Red Army (conscripts) and a machine gun detachment

On the Red left flank the sight of a British tankette in the distance brings the Red cavalry brigade to a sudden halt. Here both units will remain for the remainder of the battle.

Here is the overall situation looking from the South.

The Red aircraft strafe one of the Mongol hordes...

... as it advances on the Red right flank

Caught between the aircraft and Red infantry, the Mongols break and flee (this seems to happen a lot).

One strafe and they are gone!

The British tankette cautiously advances up the railway track towards the Red cavalry, but seems in no hurry to get there.

Reds and Chinese regular infantry skirmish in the woods in the centre.


A fire-fight develops all along the line, with first one side, and then the other retreating.

To break the deadlock, the Whites throw in the British brigade (rated as elites). British to the front, Punjabis in support.

But even this does not break the deadlock.

Even when the White commander joins the British brigade to encourage them, they cannot break through.

Red sailors holding the line.

Finally the Red aircraft returns to the fray after spending several turns lurking uselessly near the White Camp

Here the aircraft "buzzes" the White Russian regiment's rear.

A roll of a six brings in the Red artillery. This is a "God" in HoTT terms. I put the artillery piece on the base line, the element is the point of fire.

A White regiment breaks and runs, but the Reds don't have the troops (or PIPs) to exploit the gap.

The Red biplane is brought down in flames, although the pilot can be seen here fighting it out with a pistol. This has happen in every single game to date, it is a wonder anyone will fly in these coffins.

In a storm of flame and noise, the Red artillery takes out the second Mongol horde. The next PIP roll is a one, and the artillery runs uot of ammunition; @#$&**!

Nevertheless, seeing Mongols blown to bits unhinges the White commander, who uses a PIP score of 6 to retire his entire line to some broken ground.

The Reds follow up.

Both sides reform and eye each other up warily.

The Reds probe cautiously towards the White left.

The Reds advance on their right, but they are met with a bayonet charge by the Punjabi and British regiments.

This breaks a Red regiment, which routs past a commissar.

Intense White fire in the centre causes the conscript Red regiments in the centre to break, leaving two huge gaps.

Exploiting this situation, the punjabi regiment wheels and hits a Red regiment in the flank.

When this breaks the Reds had reached their 12 point limit and retire back over the border to Russia.

But they will be back.

Epic scale HoTT is my favourite way of playing these rules despite my opponent's grumblings, and I am painting up an Indian Mutiny matched pair. More to follow no doubt.