Showing posts with label Darkest Africa. Show all posts

Friday, January 3, 2014

The natives are restless somewhere in the Congo

Matakishi wrote a set of rules called "The Natives are Restless Tonight". The rules simulate the archetypal colonial scenario; where a regular colonial force is besieged by hordes of natives. Ammunition is running low, and the regulars hope they can hold out till relief arrives. I really wanted to give these a go.
 
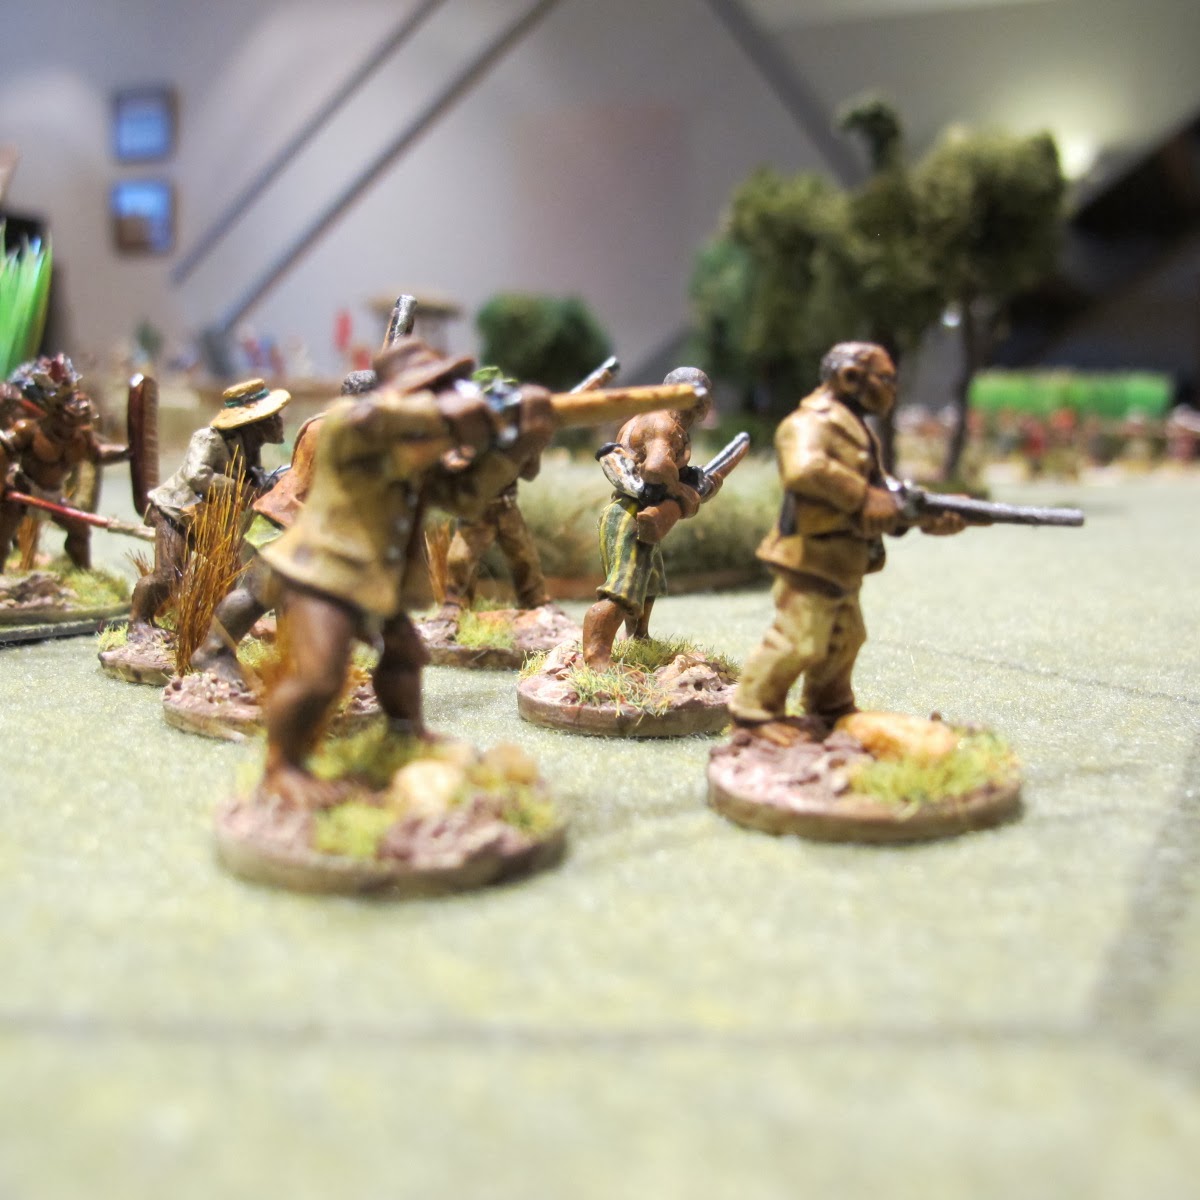
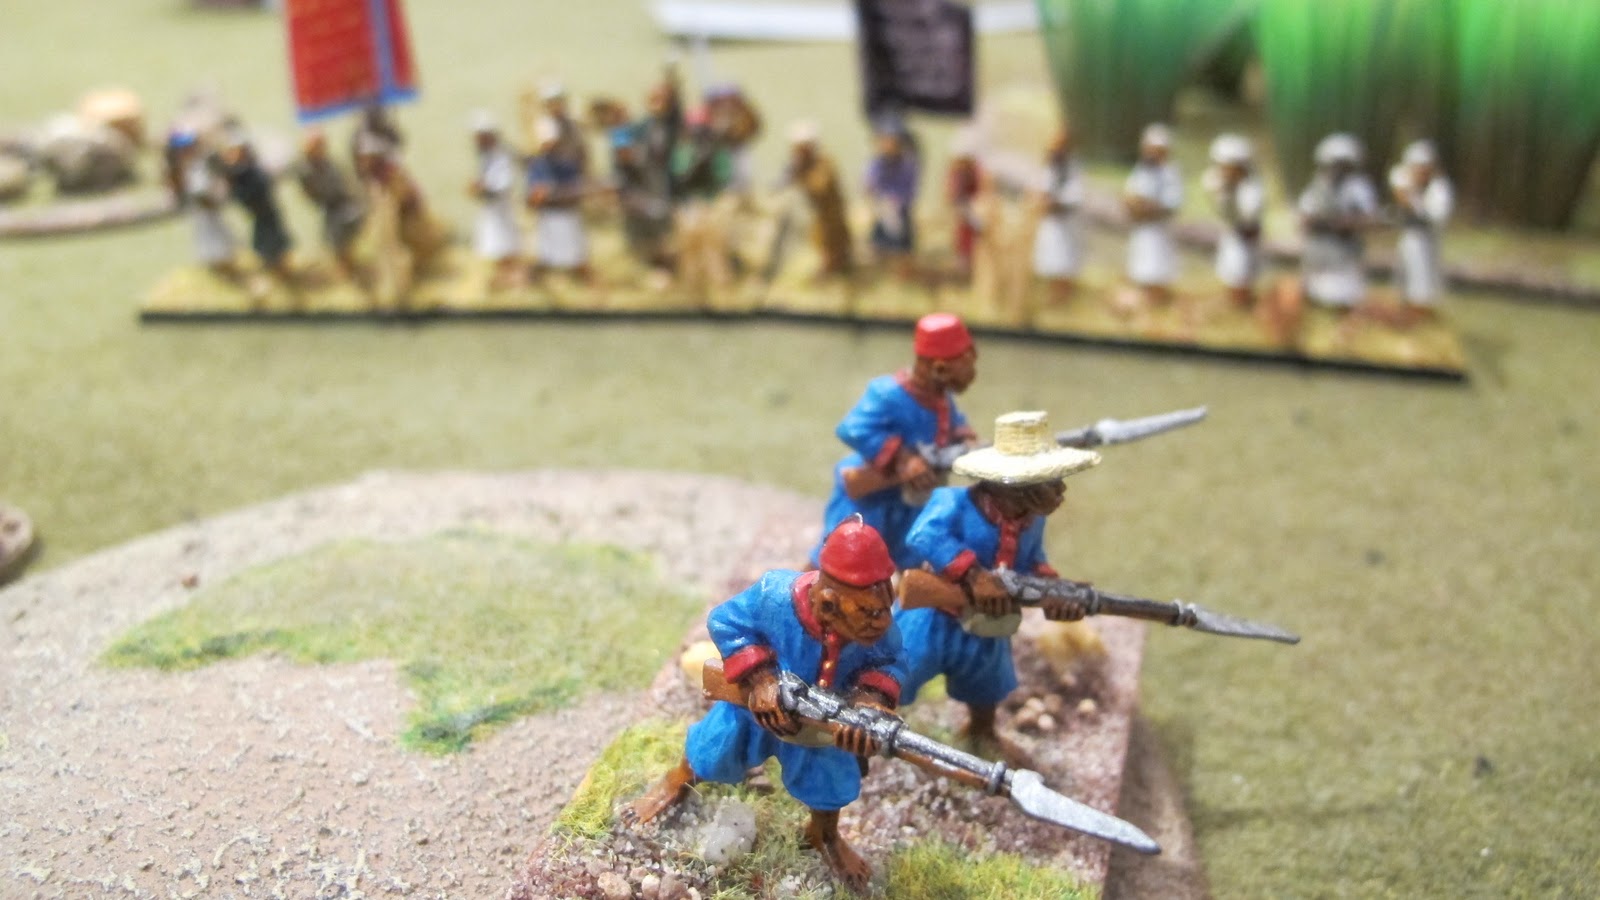
I decided to set this in the Eastern Congo in the late nineteenth century ('cause I have the figures see). So on one side were 5 companies of Force Publique soldiers with a field gun. On the other side were hordes of natives armed with spears or 'trade muskets'; bolstered by limited numbers of Arabs with muskets, or fanatic Arabs with swords.
 
"The Natives are Restless Tonight" does not cater for the standard  "can't shoot-can't fight" African native; so these were represented as shooting and close combat with one dice for every two figures (round up).
 
The Force Publique  are holed up in Fort Désespoir which has partly fallen down; they need to hold on till a relieving column arrives (on the second turn of the ace of spades). They have enough ammunition for 20 volleys and 5 rounds of canister for the field gun. Will it be enough?
 
I played the Force Publique while Mark bin Hammed played the Arabs
 

I placed two companies in reserve in the centre of the fort; while the remaining three companies lined the walls.

The gun was placed outside the main walls in its own little earthwork. In fact the natives were so perturbed by the gun they didn't venture close to this side of the wall till just before the end of the battle.

Here is a force Publique lieutenant directing his company's fire

The natives are generated randomly; and the Arabs were well served by the cards in this game as the joker (giving them four reinforcements came up four times in all). Below are two fearless groups of Arab fanatics.

The accurate fire from soldiers manning the walls could keep the onrushing natives at bay;

...but my pile of ammunition was growing smaller with each volley.

..making it hard to decide whether to shoot or hold fire.

In the end disaster struck; in a determined rush the natives pushed the defenders back and captured a building. By this time the Force Publique had taken many casualties; and ammunition was critically low. Certainly they were too weak by this stage to recapture the building. It looked like there was just time for one last Hail Mary.

But what's that? A bugle, the relief column was on its way.
 
 
From this point on the soldiers started to retreat into the buildings and wait for the relief column to arrive. Desperate attacks by the natives could not dislodge them before the relief column saved Fort Désespoir and its gallant defenders.
 
Well, I must say, if you want a easy, fast game that gives you the drama of defending Rorkes Drift, or the residency at Lucknow this hits the spot. Can't wait till my broken hand heals and my Indian Mutiny figures are painted to give it another.
 
Happy Wanderer; are you listening?
 

Thursday, December 5, 2013

The Princes of Kasongo


Princes of Kasongo

Lately, I been a bit obsessed by the confluence of my Holtz Hex mat, Richard Borg's rules and my collection of figures. This post continues in this theme by using the ACW set "Battle Cry" with my evil Force Publique versus my evil Arab slavers in the Eastern Congo setup.
 
The essential reading for this scenario is "The Fall of the Congo Arabs" by Sidney Langford Hinde (published in 1897). This is the story of the war between the "forces represented on the one hand by the Arabs from Zanzibar, and on the other hand by the Europeans from the mouth of the Congo".
 
It is a "curious little war" in which "a dozen white officers and 400 regular black troops on one side, and a couple of hundred Arab chiefs, supported by a few hundred half-bred Arabs and commanding large number of irregular soldiery, on the other" fought to decide wether an area of Africa the size of France would be exploited by Christian Belgians, or Mohammedan Arabs. The Belgians and their Nigerian and Liberian Force Publique soldiers were the victors, the Arabs were wiped out but the native Congolese tribes the undoubted losers.
 

The scenario

This scenario takes place outside the city of Kasongo, where Baron Dhanis' forces have run the Arab princes to ground. The Arabs don't stand a chance, but the charm of the Battle Cry system is that two games can be easily played in one evening, the resulting medals from each game added together to decide the victor. I made a few tweaks to the Battle Cry rules to allow for the different troop types  encountered in Africa, but not seen in America during the civil war.
 

Below is the set-up for the Scenario. The Arabs occupy the bottom half of the battlefield containing some outlying buildings of Kasongo south of the river, and a native boma on the north. The Force Publique can be seen emerging from their overnight camp at the top of the battlefield.

 
Here are the outermost buildings of Kasongo strongly occupied by Arab forces.


A strong force of Manyema tribesmen are hurrying onto the battlefield from the north

The Native boma is protected by local villagers (probably slaves) and the Arabs can't expect them to put up much of a fight.
 

The battlefield has a number of objectives, capturing and retaining these is worth a medal. Here is the evidence of Arab atrocities, and maybe Manyema cannibalism. The Force Publique are ordered to recover these.

The Village

Some more Arab forces

Prepared to defend Kansongo to the last.
A watchtower is used to get early warning of Force Publique movements.

But the rooftops also give an good view.

Manyema marching to Kasongo

On the other side of the battlefield is Lietenant Doorme's company advancing out of camp.

Flanked by Lieutenant Scherlink's company

The Force Publique's left flank is covered by some native tribesmen, although how long these would stand against an Arab assault is anyone's guess..

De Wouters company forms a reserve I the centre. De Wouters was 6 feet 5 inches tall and always wore while. The Arabs called this the "the Heron" and gave orders to  take him "alive or dead, and to use their knives, since bullets were useless were useless against his fetish's witchcraft."
 
The Force Publique's left flank is protected by the warlord, Gongo Lutete's irregular forces

Who are tasked with covering the Force Publique's supplies (which are an Arab objective).

This is Michaux's company

And the little Krupp gun.

 
Here is the Commandant in overall command of the force.
 

I have played this scenario out twice now. it isn't balanced and it isn't meant to be. But it has given a  great game each time.

Sunday, November 13, 2011

HoTT in Africa in Nyasaland

It has been a while since our last game of Hott in Africa; our adaptation of Hordes of the Things to Central Africa. This 36 point game was set in Nyasaland in the early 1890s (some more background here).

An Imperial British force under the command of Harry Johnston, Her Majesty's Commissioner for British Central Africa, is attacking a force commanded by the notorious arab/swahili slaver Mlozi. Why? To keep Africa ruled by an English Queen, (if you think that is odd, I live in Australia).

To the north runs a small river heading for Lake Nyasa. However, the battle will be shaped by a patch of long elephant grass, some boulders and the small hill in the centre.

The picture below shows the forces approaching each other with the British occupying the hill to the East. 

To the south of the battlefield a force of Bemba mercenaries move beyond the ruins of the Church of Scotland Mission station. Someone was responsible for that.

Here are the dastardly Bemba, lead by a Swahili blackguard:- Said bin Stephens.

To the north, near the river a force of native Senga warriors advance towards the reeds.

Mlozi can be seen in the centre, lurking behind a gang of wangwana swahili.

Bearers in British service carry the Fortnham and Mason hampers so necessary to any safari.

The British North flank is held by armed bearers; can they be relied on?

The centre is held by Atonga askari of the Nyasaland constabulary, poorly trained, but armed with the trusty snider rifle.

The South flank is held by trust Sikh infantry, who can be depended on to do their duty.

An Atonga scout keeps and eye on the advancing Bemba from the safety of some boulders.

While to the north the Senga warriors disappear into the elephant grass

The imperial forces watch from top of their hill

The arabs in the centre start to advance over open ground, but their formation is quickly broken up by the askari's steady fire.

The Sikhs also open up from long range.

When suddenly the Senga warriors burst out of the long grass.

The Senga live to burst out long grass! Love it! Here they are waved on by their war chief.

However, out in the open they are also dispersed by long range rifle fire. This could be a long battle.

An overview of the northern flak show how seriously Johnston takes the Senga. He has moved out to face them taking a section of the Nyasaland Constabulary with him.

Way over on the southern flank, the Bemba warriors wither under the sustained long range fire of the Sikhs.

...very long range fire, there are the Sikhs in the distance.

Shamed, the Senga break out into  battle formation. They see an easy victory in charging the armed bearers in front of them.

The armed bearers share this view, and don't look too happy.

With a howl, the Senga get stuck in.

Who knew, the bearers stand up to the charge and the warriors fall back.

The British line holds for now.

The Bemba continue to retreat from the Sikhs fire. Mlozi must be wondering why he brought these nincompoops.

The Senga are made of sterner stuff, after all how hard can rolling over a few armed bearers be.

Obviously, they have not heard of Captain Johnstone, hero of the empire. With a few Askari, he forces the Senga to retire.

Learning their lesson in modern firepower, the Arabs in the centre take cover in the long grass.

Living his "boy's own" adventure, captain Johnstone advances on the lone Senga chief (who has been abandoned by his tribesmen)

Whoooooaaah, one less apostle of empire, one more head for the fireplace! The bearers and Askai recoil in horror at the loss of their hero.

On the southern flank, the Arab commander manoeuvres onto the Sikh flank, obviously with mischief in mind, the Sikhs turn to face.

The Sikhs fight off the first change, they are safe for now.

Meanwhile, on the north flank the Senga war chief is surrounded and killed

Leaving Johnston's head on a stake. That bit will need to be deleted for the "Boy's Own" version.

While the British deal with the threat to their flanks, the centre is weakened and the arabs start to advance.

Watch those flanks.

... and look behind you

Only this small gun can slow the Arab advance.

One more attack on the British south flank is more than the now leaderless British can take.

A close run thing, but the British must no retreat to Blantyre.